

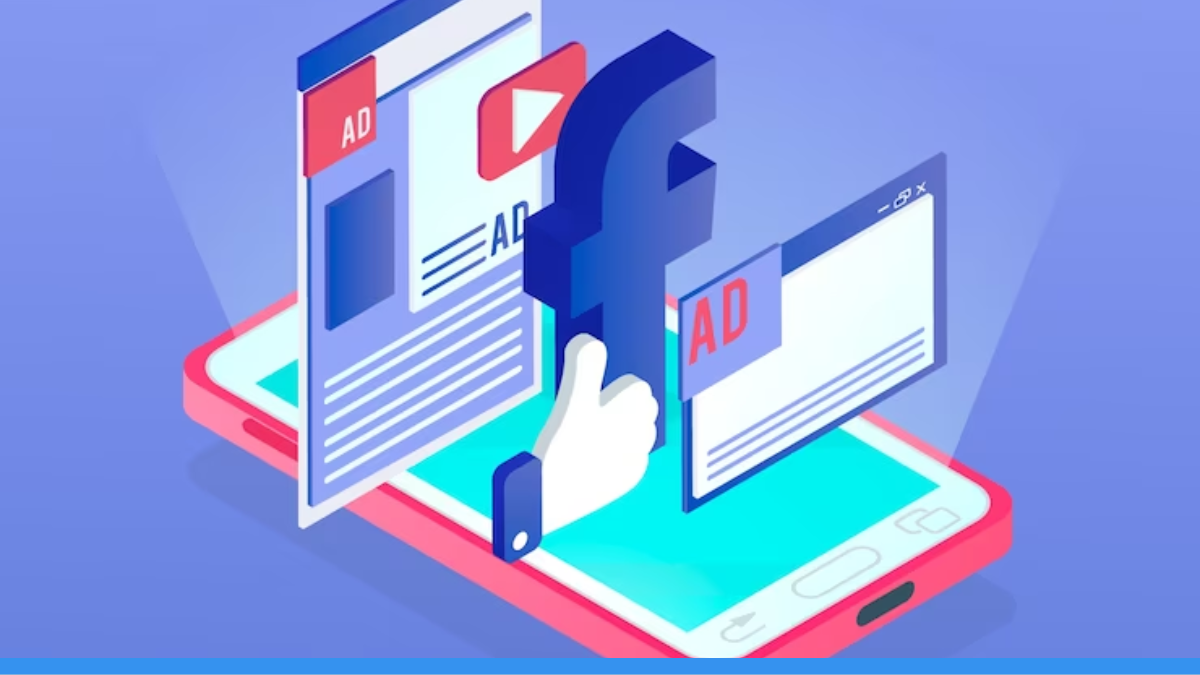
If you are into marketing your business digitally, you already know that running ads on Facebook and Google is a cost-effective way of selling your service to a large but targeted audience.
Even if you don’t, now you know!
With a proper strategy, you can use Facebook Ads to create awareness about your real estate agency and boost conversions from leads to clients.
There are many features to Facebook Ad campaigns like running ads, managing, testing, and reviewing their performance. But in this blog, we will be focussing primarily on how to create, set up, and run a Facebook Ad campaign.
The steps are well broken down and it is quite easy to set up a Facebook Ad campaign.
What is a Facebook Ad Campaign?
In order to set up Ads on Facebook, you need to create a “Campaign” through the Facebook Ads Manager.
The simple idea of running an ad campaign is to attract traffic.
The goal is to drive this traffic onto your website/landing page.
What is Traffic?
Traffic means the people who visit your ad or your website.
The primary objective of any lead generation sales funnel is to convert this traffic into desired actions like making a property purchase or signing up for your real estate service.
Read our blog to learn about Building an Effective Lead Generation Funnel for Real Estate Agents.
What is an Ad Campaign?
An Ad Campaign is a structured way of promoting your business using platforms like Facebook.
You can create multiple advertisements (ad creatives) under one campaign that has a specific purpose like brand awareness, lead generation, traffic, etc.
The fundamental concept of running an ad campaign is to generate interest and draw people’s attention to your business.
Create your first Facebook Ad Campaign
Follow these 9 simple steps below to set up and run your Facebook ad campaign.
01. Go to Facebook Ads Manager
02. Choose a Campaign Objective
03. Define your Audience
04. Set the Budget and Schedule
05. Select Ad Placement
06. Create Ad Set
07. Design your Ad Creative
08. Set up Ad Tracking
09. Review and Confirm
01. Go to Facebook Ads Manager
Do you have a Facebook Business Page? Then sign-in.
Or, Create your Page. You cannot run a Facebook ad through your personal account.
Go to “Ads Manager” on your Facebook Page. https://www.facebook.com/adsmanager/
Click on “Create” to start a new ad campaign.
You will have your own dashboard in the ads manager to track your ad campaigns.
02. Choose a Campaign Objective
Why do you want to advertise your business through Facebook?
Do you want to increase awareness about your service, increase app installs, or boost traffic to your website?
You can select from the various options to optimise your ad campaign.


Choose a “campaign name”.
Let us name it “Real Estate Properties_Rahul_November” just to be specific so that other members of your team can understand that Rahul created a Facebook Ad campaign for real estate properties in November.
Then choose your Ad set name.
If you are choosing a cold audience and targeting Maharashtra, you can call it “Cold_Maharashtra”.
Where do you want to drive your traffic?
When people click on your Ad, you can choose to direct them to one of the following :
- Website
- App
- Messenger
03. Define your Audience
Who should see your Facebook Ads?
Only a particular financial background? Only those living in Maharashtra?
You can target your audience impressively well with a Facebook ad campaign.
You can choose the “location, age, gender”. In detailed targeting, you can define your target audience based on their “demographics, interests, and behaviours”.
3 major target audiences are :
- Saved audience – is the manually curated audience that you define based on their interests and demographics. You can save this audience to promote your service.
- Custom audience – is formed from existing contacts (customer lists, website visitors, subscribers). This is perfect for retargeting your leads and existing customers.
- Lookalike audience – are the users who are similar to your custom audience. This is great if you want to reach out to a broader but similar audience who are the new potential customers.
Facebook helps you market to your target audience and also reach out to large numbers while doing so.
04. Set the Budget and Schedule
You can type in your budget and choose one of the ‘daily’ or ‘lifetime’ budgets (say 1000 INR per day or 10,000 INR for the lifetime of the ad).
You can schedule your Facebook Ad campaign with ‘a start date’ and ‘end date’.
A daily budget is the maximum amount you want to spend for your advertising campaign in one day.
It is useful when there are specific times/ days you want to promote (like Diwali offer) and if you are experimenting and testing different ad creatives.
A lifetime budget is the maximum amount you want to spend for the entire duration of your ad campaign. Facebook will spend it unevenly every day to optimise for better results.
It is preferred when you have a well-defined audience with a strategy in place and when you have specific start and end dates (seasonal promotion).
05. Select Ad Placement
Where do you want your ads to appear?
Facebook, Instagram, Audience Network?
Facebook recommends “Automatic placements” (Facebook will allocate where your ads will be shown based on where they are likely to perform best) to “Manual placements” in order to maximise your budget.
06. Create Ad Set
Now that you have chosen the audience and set the foundation for your Facebook Ad campaign, the next first step is to create a “New Ad”.
Begin with naming your Ad. If you want to run an Ad for a series of real estate properties, you can name it “Property#1”.
Choose your “Identity” i.e. your “Facebook Page” and your “Instagram account” so that people can identify your online presence.
After this, select the format of your Ad. You can structure your Ad as
- Single image or video
- Carousel
- Collection
You can create different ad sets and test which is working best for different audiences and placements.
07. Design your Ad Creative
For the next step, you simply need to be ready with the “Ad Creative” that you wish to upload along with the ‘text’ and the ‘destination’ for your ad.
01) You can upload the Ad creative either from your computer database or also use images from your Account/ Instagram/ Business/ Page
You can and should optimise your ad creative by adjusting to the right frames across different placements. You use
- Square (1:1) for Feeds & In-stream videos
- Vertical (9:16) for Stories, Apps & Sites
- Horizontal (1.91:1) for Right column, Search results, Instant articles
02) Craft engaging content for the ad.
Add a “Primary Text” to your ad.
- It can be as simple as,
“Hey property buyers! Looking to buy real estate in Mahim? Here are unmissable properties for you! Instantly check them out at homesfy.in”.
There are other optional texts that you can choose.
- “Headline” of your ad which will appear just below your ad creative.
- “Description” for your ad that describes the headline better.
How your ad looks will simultaneously appear on the right of your screen. So you can edit your text accordingly.
The texts should create an urgency for the viewer to click on your Ad.

03) Enter the destination of where your traffic should be directed to.
You need to paste the Website URL if that is where you want your traffic to go from your ad creative.
04) “Call to action” is an important addition. You can opt out of it or choose from the various options.
- CTA is a simple to add feature but it is very effective because it is easy for people to just click a “shop now” button directly instead of having to go to the website to do the same.
08. Set up Ad Tracking
If you want to measure the ROI on running Facebook ads, or make data-driven decisions for optimising your ad campaign, or evaluate ad performance, you need to set up “Ad Tracking”.
01) For Facebook ad campaigns, you need to install Facebook Pixel on your website to track its user interactions. It will measure the effectiveness of the ad campaign by providing data on website visits, page views, and conversions.
02) You can make use of Facebook Events Manager for detailed information (clicks, form submissions, purchases) of user interactions on your website.
03) You can set up Custom Conversions in Facebook Ads to track specific events like when a customer completes his purchase of a real estate property.
09. Review and Confirm
Your primary ad is now ready.
If you want to add another similar ad under the same or a different Facebook Ad campaign, you can simply “duplicate” the present ad.
- On the left side, you can see your ad name. Click the 3 buttons and choose from the dropdown.
You can review all your settings and re-check the ad creatives and how they look.
After a satisfying setup of your Facebook ad, click on “Confirm” to launch your ad campaign!
Monitor Performance & Optimise your Facebook Ad Campaign
The amazing thing about running ads on Facebook is that you utilise A/B testing with the original and new ads to see how well your ad campaign is running.
You can publish the ads and check how they are performing in the Ads Manager dashboard. This will allow you to make informed decisions about what types of images/ content you should be producing.
Important metrics to analyse your ad performance are reach, engagement, conversion rates, clicks, videos/ website/ app.
If an ad is performing poorly, you can stop running that ad.
If a particular ad is performing really well, you can replicate such designs and content in your ad campaign.
Do not forget to engage with your audience after you run your Ad. Respond quickly to their messages, comments, and emails, or risk losing a potential customer.
Make use of management tools and regularly analyse your ad performance. You should refine your strategies to reap the best benefits from running a Facebook Ad campaign.
Optimise Facebook ad campaigns by :
- experimenting with different ad creatives, placements, and audiences.
- updating your strategies based on performance data.
- adjusting and planning your budget.
There are many more features to explore and leverage in a Facebook Ads campaign. You must keep yourself updated with newer features and technologies to stay on top of your real estate business.
If you want to know how to set up a Google Ad campaign, read our blog.
What do you want to learn next? Comment below!